Henry David Thoreau, American naturalist, essayist, poet and philosopher, once said, “One must maintain a little bit of Summer, even in the middle of Winter.”
But how?
Through food!
We’re lucky here in Apex to have a long growing season. It starts with the last frost around the end of March or early April and continues through the first frost in late October, sometimes as late as mid-November.
That means if you’re a gardener you can start a late summer crop of vegetables like peas, carrots, spinach, lettuce, beets and bush beans, to name a few.
Peas, carrots and bush beans freeze well; just place them in a single layer on a plastic film-lined baking tray and put them in the freezer. Once frozen, you can bag them up and they won’t stick together in a giant veggie brick.
The same works for fresh berries! Imagine smoothies in winter with berries from summer. Yes, we can buy frozen berries, but somehow it just seems more satisfying when you know you prepped them yourself for your family to enjoy. It’s like a delayed gift!
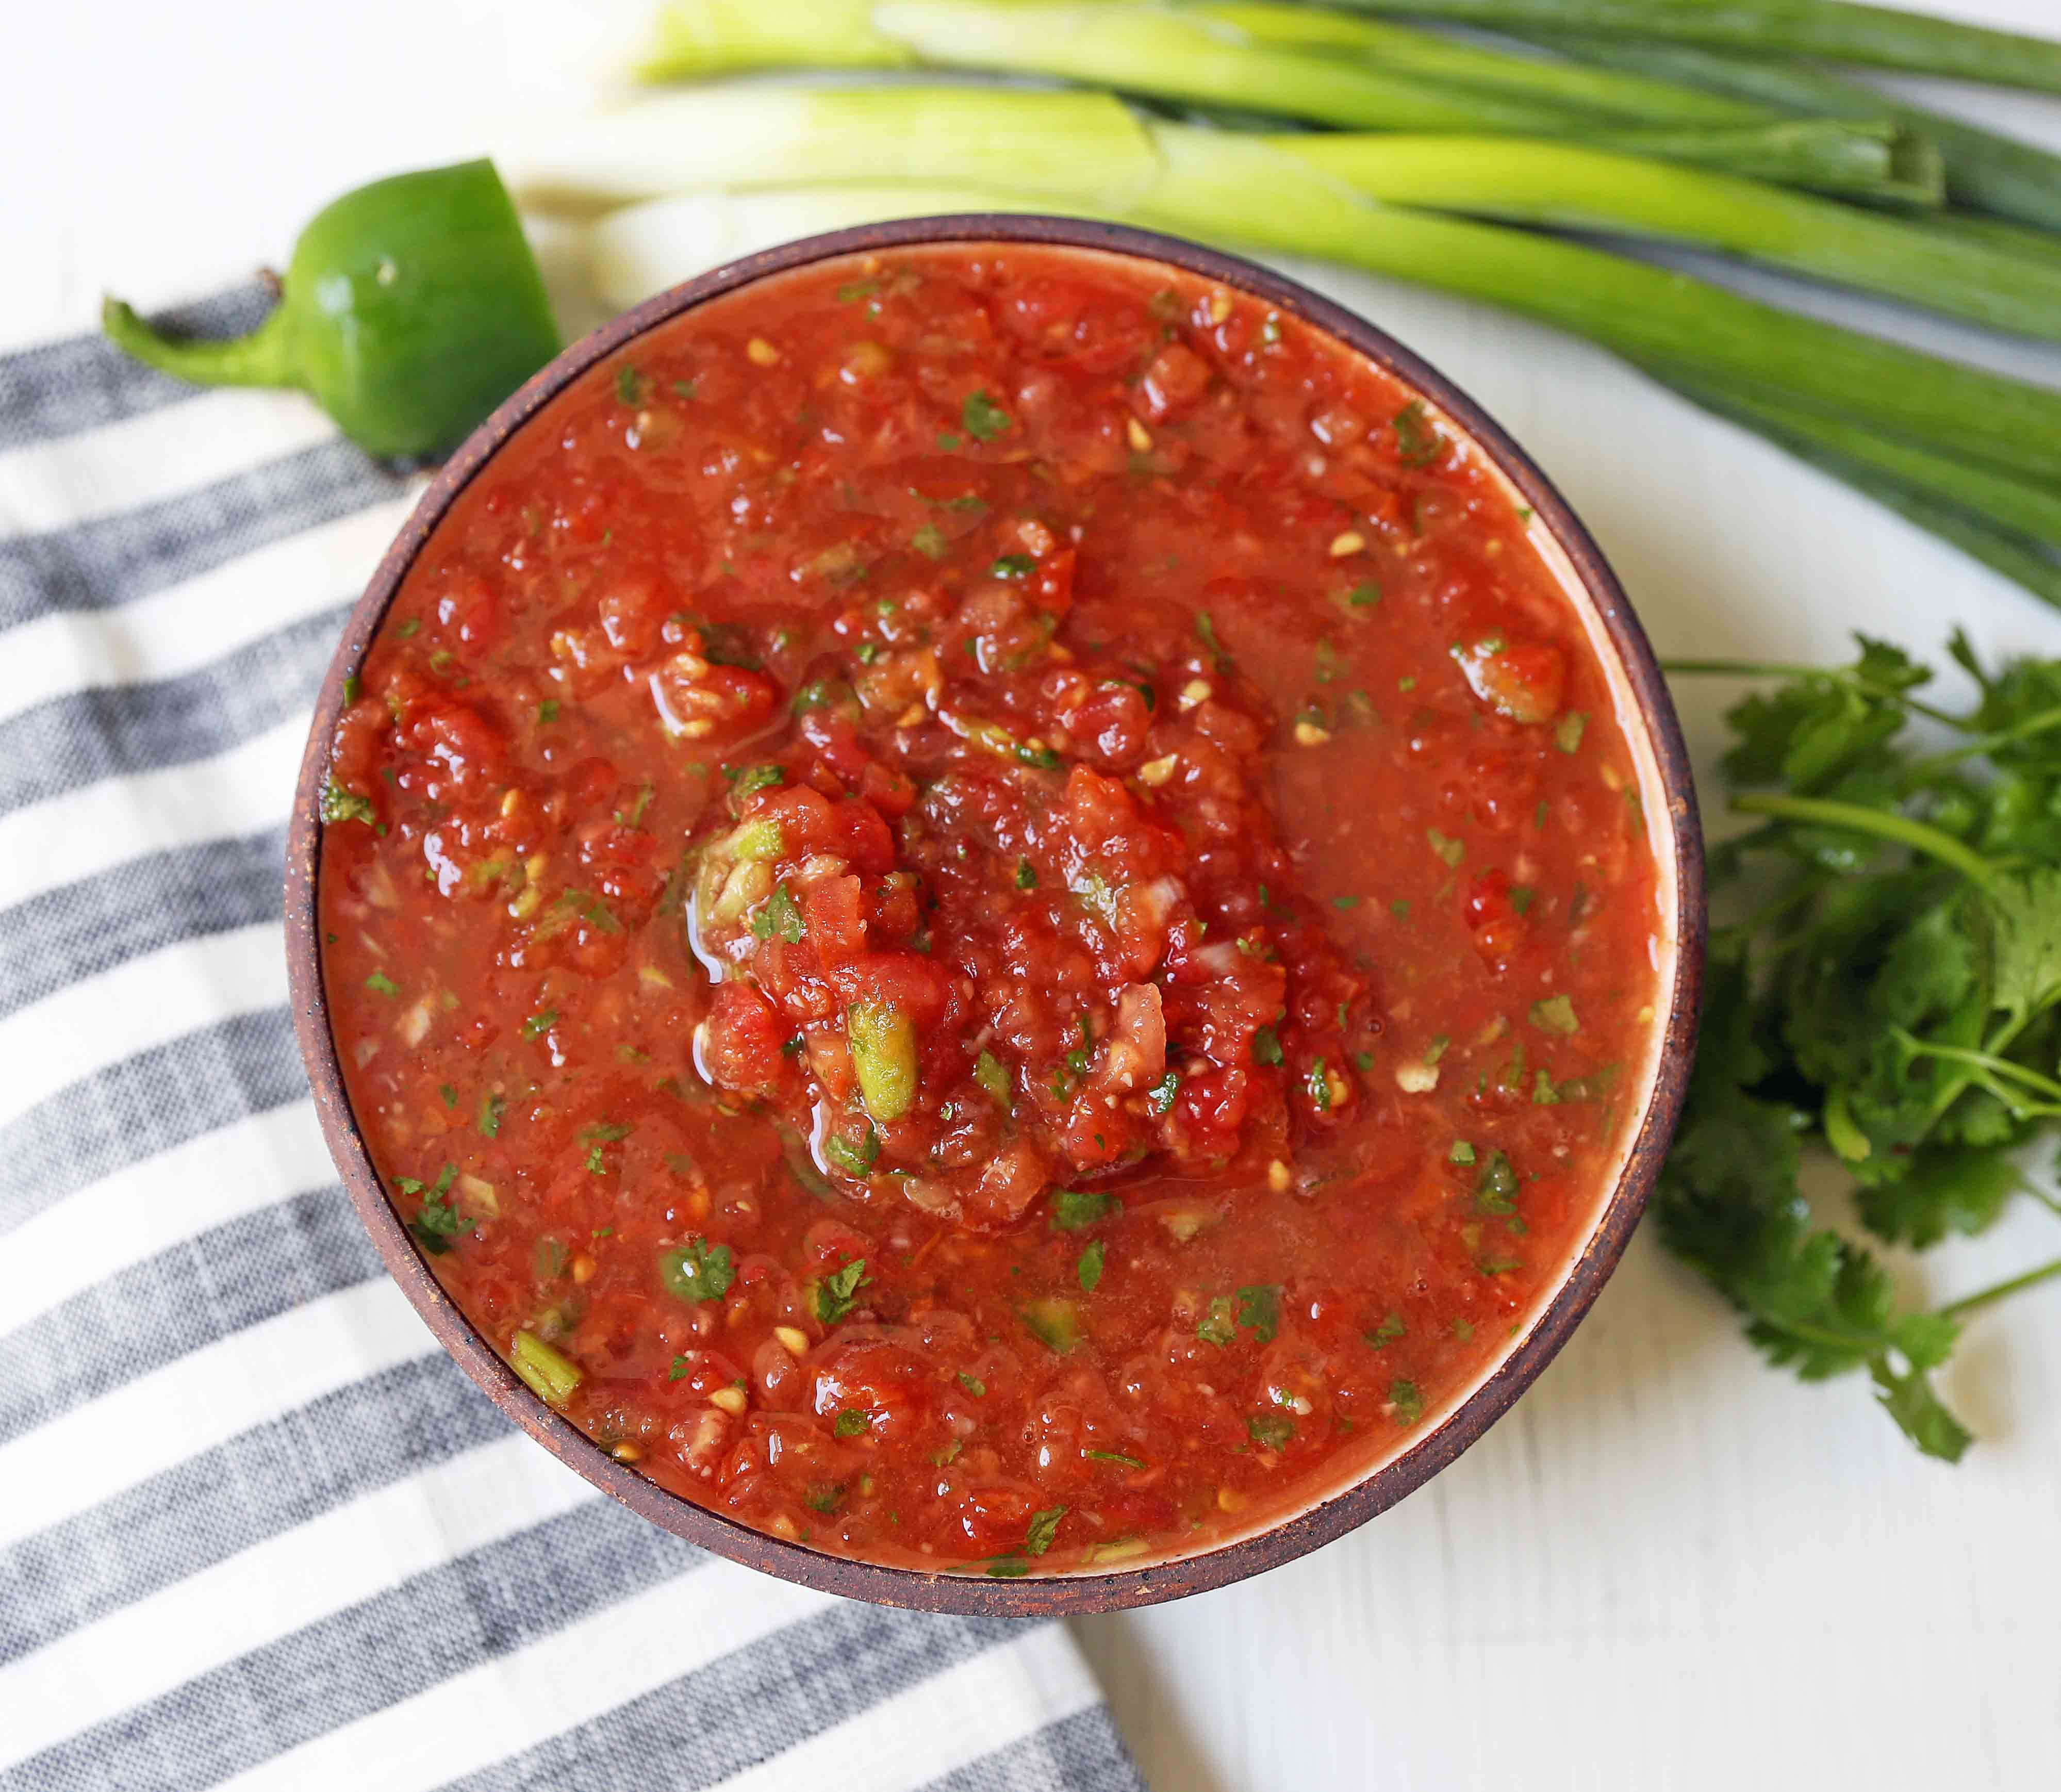
I am an accidental gardener—if anything grows, it’s an accident. Fortunately, my husband is a much better gardener and cook than I am. It is from him that I’m happy to share another way to extend your summer into winter. This is his homegrown and homemade salsa which he has canned and given to friends and co-workers. There’s nothing better than sharing your bounty of summer!
Jim
Bone’s
Salsa:
13 medium tomatoes (Roma)
7 jalapeños (you can also mix 1 poblano, 2 Anaheim, and 1 small green pepper with some of the jalapeños)
2 carrots
3 medium yellow onions
(All the above should be chopped in a food processor. Leave some tomatoes a bit chunky.)
Juice of 3 limes
1 cup cilantro leaves, chopped
3/4 head of garlic
1 cup vinegar
1 1/2 Tbsp salt
1 1/2 Tbsp black pepper
Combine all the above except cilantro and boil/simmer until volume is reduced so that the consistency is like ketchup. Add cilantro just before canning. Add salsa to mason jars and seal. Boil jars for 15 minutes and remove to cool.
Yield: 6 nearly full pint jars
Canning for Beginners
If you would like to give canning a try, this is how it works.
The heat of the canning process destroys the molds, yeast and bacteria that cause the food to decompose. By using sterilized containers and by sealing the containers, you prevent recontamination of the food. Separate canning processes are used for high-acid and low-acid foods. A boiling water bath in a water bath canner is fine for high-acid foods. Low-acid foods require processing by pressure canning.
This is what you’ll need:
Water Bath Canner
A water bath canner is just a very big stock pot with a rack inside, and a lid. If you don’t have access to a water bath canner, you can use any large, deep pot fitted with a small rack. Be sure that whatever you use is deep enough to leave room for about two inches of bubbling water on top of the jars while they are processing.
Glass Canning Jars
Glass mason jars are reusable and specially made to withstand the heat of processing. Do NOT try to reuse standard commercial jars that you may have laying around the kitchen!
Flat Metal Lids and Screw Bands
These lids are designed with sealing compound and metal screw bands to give an airtight seal to glass canning jars. After the jars are filled, the lid is placed on the rim of the jar, with the sealing compound next to the rim. The band is then tightened firmly over the lid to keep it in place. As the jar cools, a vacuum pulls the lid against the jar’s rim, and the vacuum and sealing compound ensure the seal. You may reuse the screw bands, but NEVER reuse the lids.
Canning Tongs
Canning tongs are especially useful for lifting jars from the boiling water. Since canning tongs are specifically designed for the purpose, they will give you a firm grip on the jar.
Before you start, be sure to do the following:
Look over the jars to make sure there are no nicks or chips around the rims. If there are, do not use them.
Wash jars, lids and sealing rings well in hot soapy water and rinse thoroughly.
Sterilize jars by placing them in a large pot. Fill pot with water to cover the jars and bring water to a simmer. Remove pan from heat but allow jars to remain in the hot water until you are ready to use them.
Step 1: Filling Jars
Place the water bath canner on the stove, add about 5 inches of water, cover, and begin to heat the water.
Fill a separate stock pot with water and bring to a boil. You will need this extra boiling water if the water level in your canner does not cover the tops of the jars.
Pack one hot jar, leaving about an inch of room at the top (“headspace”).
Remove any air bubbles in the jar by gently stirring with a spatula or blunt knife.
Wipe off the rim of the jar with a clean paper towel. Residue on the rim could prevent a good seal with the rubber of the lid.
Place the lid on the jar according to the manufacturer’s directions.
Place sealing ring on lidded jar but DO NOT TIGHTEN.
Carefully transfer the filled jar to the rack in the water bath canner, then begin to pack another jar. Each filled jar will begin to heat while you are filling the next. Make sure jars are not touching in the canner.
Step 2: Processing
After you’ve added the last jar to the canner, pour boiling water over tempered and filled jars so that water level is one to two inches over the tops of the jars.
Bring water to a rolling boil and set timer for 15 minutes (or time indicated in your recipe).
Adjust the heat so that the water will boil gently for the entire length of the canning process. If the water level falls, add boiling water from the separate pot. If the water stops boiling after you add water, pause the timer and continue timing after the water again starts to boil.
When the time is up, turn the heat off. Lift jars using tongs or jar lifters and transfer to a rack or heavy towel. Leave space between each jar for air circulation.
Step 3: Sealing
You will hear some snaps or pops while the jars are cooling. This means that the vacuum has pulled the metal lid down and made an airtight seal. Note that you may not always hear a noise to let you know that the jar has sealed.
Test for a seal by looking for the indentation in the lid and pressing it with your fingers. A sealed lid is firmly down and concave in shape. An unsealed lid is still bowed upward and can be flexed with your fingertips.
If a jar does not seal, you must repack and reprocess it, or you can place it in the refrigerator after it’s cooled and consume the contents within a few days.
When your jars are completely sealed and properly processed, they can be stored in a dark, dry area where the temperature is below 70°F.
If all that seems like too much work, maybe you have a neighbor who likes to can and preserve and you can do the job together.
Fortunately, every season has many things to celebrate and one of the best things to celebrate at the end of summer and into early fall are apples! Did you know that North Carolina is the seventh-largest producer of commercially grown apples in the country? Our apple season is from mid-August to mid-October.
Apples are the flavor of the season. From cider to baked, to eating them fresh, to pies and tarts. Enjoy this recipe that I translated from German just for you!
Ingredients:
7 oz. (200 g) butter
Zest of one lemon
1 c. (200 g) sugar
1 packet of vanilla sugar
4 eggs
2 ¼ c. (275 g) flour, sifted
4 to 6 (1 kg) apples
2 tablespoons of sugar
1/2 teaspoon of cinnamon
1 bag of sliced almonds
Icing sugar
Directions:
•Mix the butter with the lemon zest until fluffy.
•Gradually add the sugar, vanilla sugar and the eggs.
•Mix in the flour. Do not over-mix. The dough will be sticky.
•Spread the dough into a large baking tray lined with parchment paper.
•Place rows of apple wedges on top, and sprinkle with sugar and cinnamon.
•Bake at 390° F (200° C) degrees for about 30 minutes. Put under the broiler for approximately 10 seconds more to slightly brown the edges of the apples.
•Sprinkle with sliced almonds, dust with icing sugar and cut into even pieces.
Now all that’s left to do is brew some coffee and invite the neighbors over!
Sources:
https://www.ncapplegrowers.com/apple-facts.php#:~:text=NC%20ranks%20seventh%20in%20apple,produced%20in%20a%20given%20year.
http://firegirl.com/preserving/canning1.html .


