Many people in Apex are from somewhere else. Even if you’re born and raised here, it’s possible that the grandparents have moved south for warmer weather. Of the newcomers, many have left family in other places of the country. This Valentine’s Day, don’t forget the grandparents. Remember that they lived in a simpler time (as did most of us), where snail mail was the only mail. Grandparents seem to be particularly fond of homemade gifts from the grandkids. Below you’ll find a few different ideas of what to send them. Take some pictures of the kids working on the projects, print them out, and send them too. If you have a grandparent that’s single, all the more reason to reach to out them this Valentine’s Day.
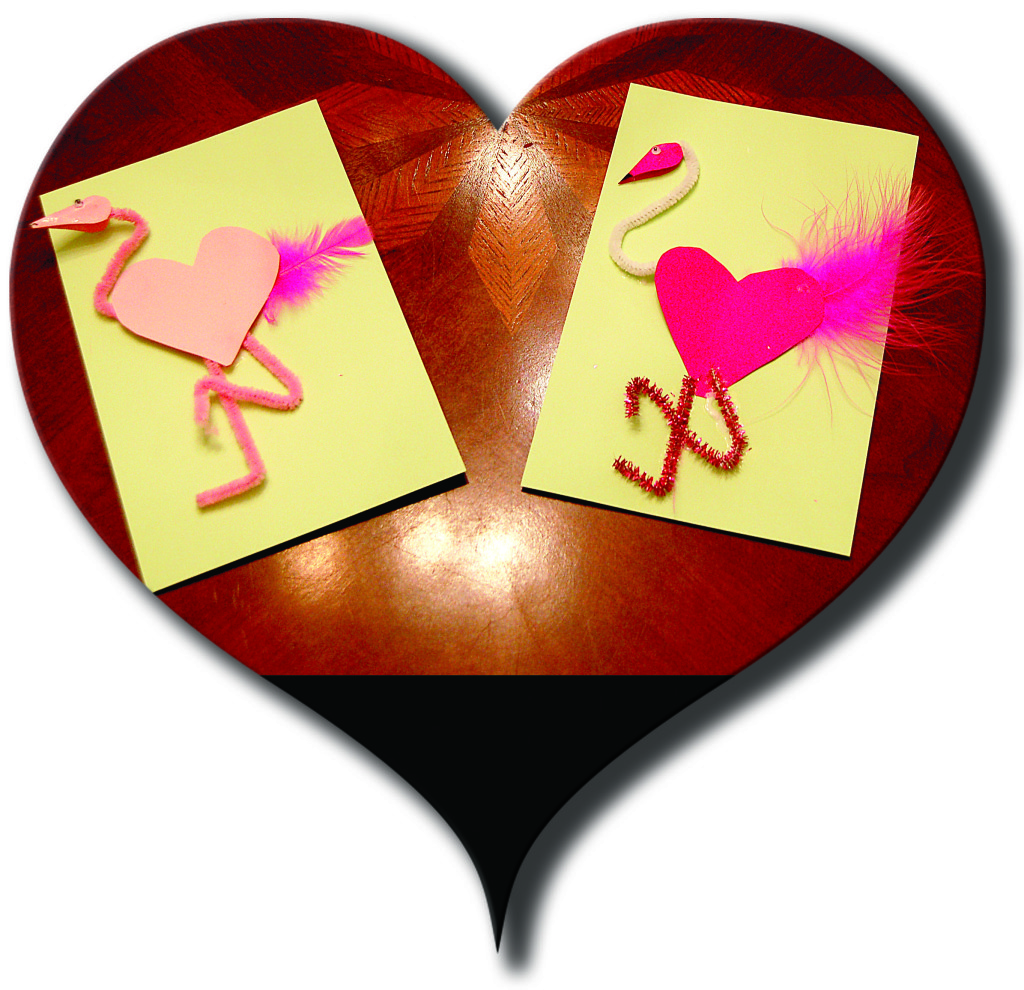
Flamingo Valentines
Supplies:
Pink Construction Paper
Pink Feathers
Glue
Black Marker
Pink Pipe Cleaners (1 thick and 2 thin)
Scissors
Small googly eye
Directions:
Cut out 2 hearts the same size to serve as the body of the flamingo.
Bend the thick pipe cleaner to form the flamingo’s neck and glue to the left side of one of the hearts.
Attach the feathers to the right side of the heart
To make the legs, arrange the two thin pipe cleaners at the bottom of the heart and glue into place.
Glue the second heart directly on top of the first heart to cover the glued ends of the pipe cleaners and feathers.
Cut out a smaller heart shape to use as the beak. Fold it in half and color the tip black.
Glue the beak to the end of the neck and add a googly eye.
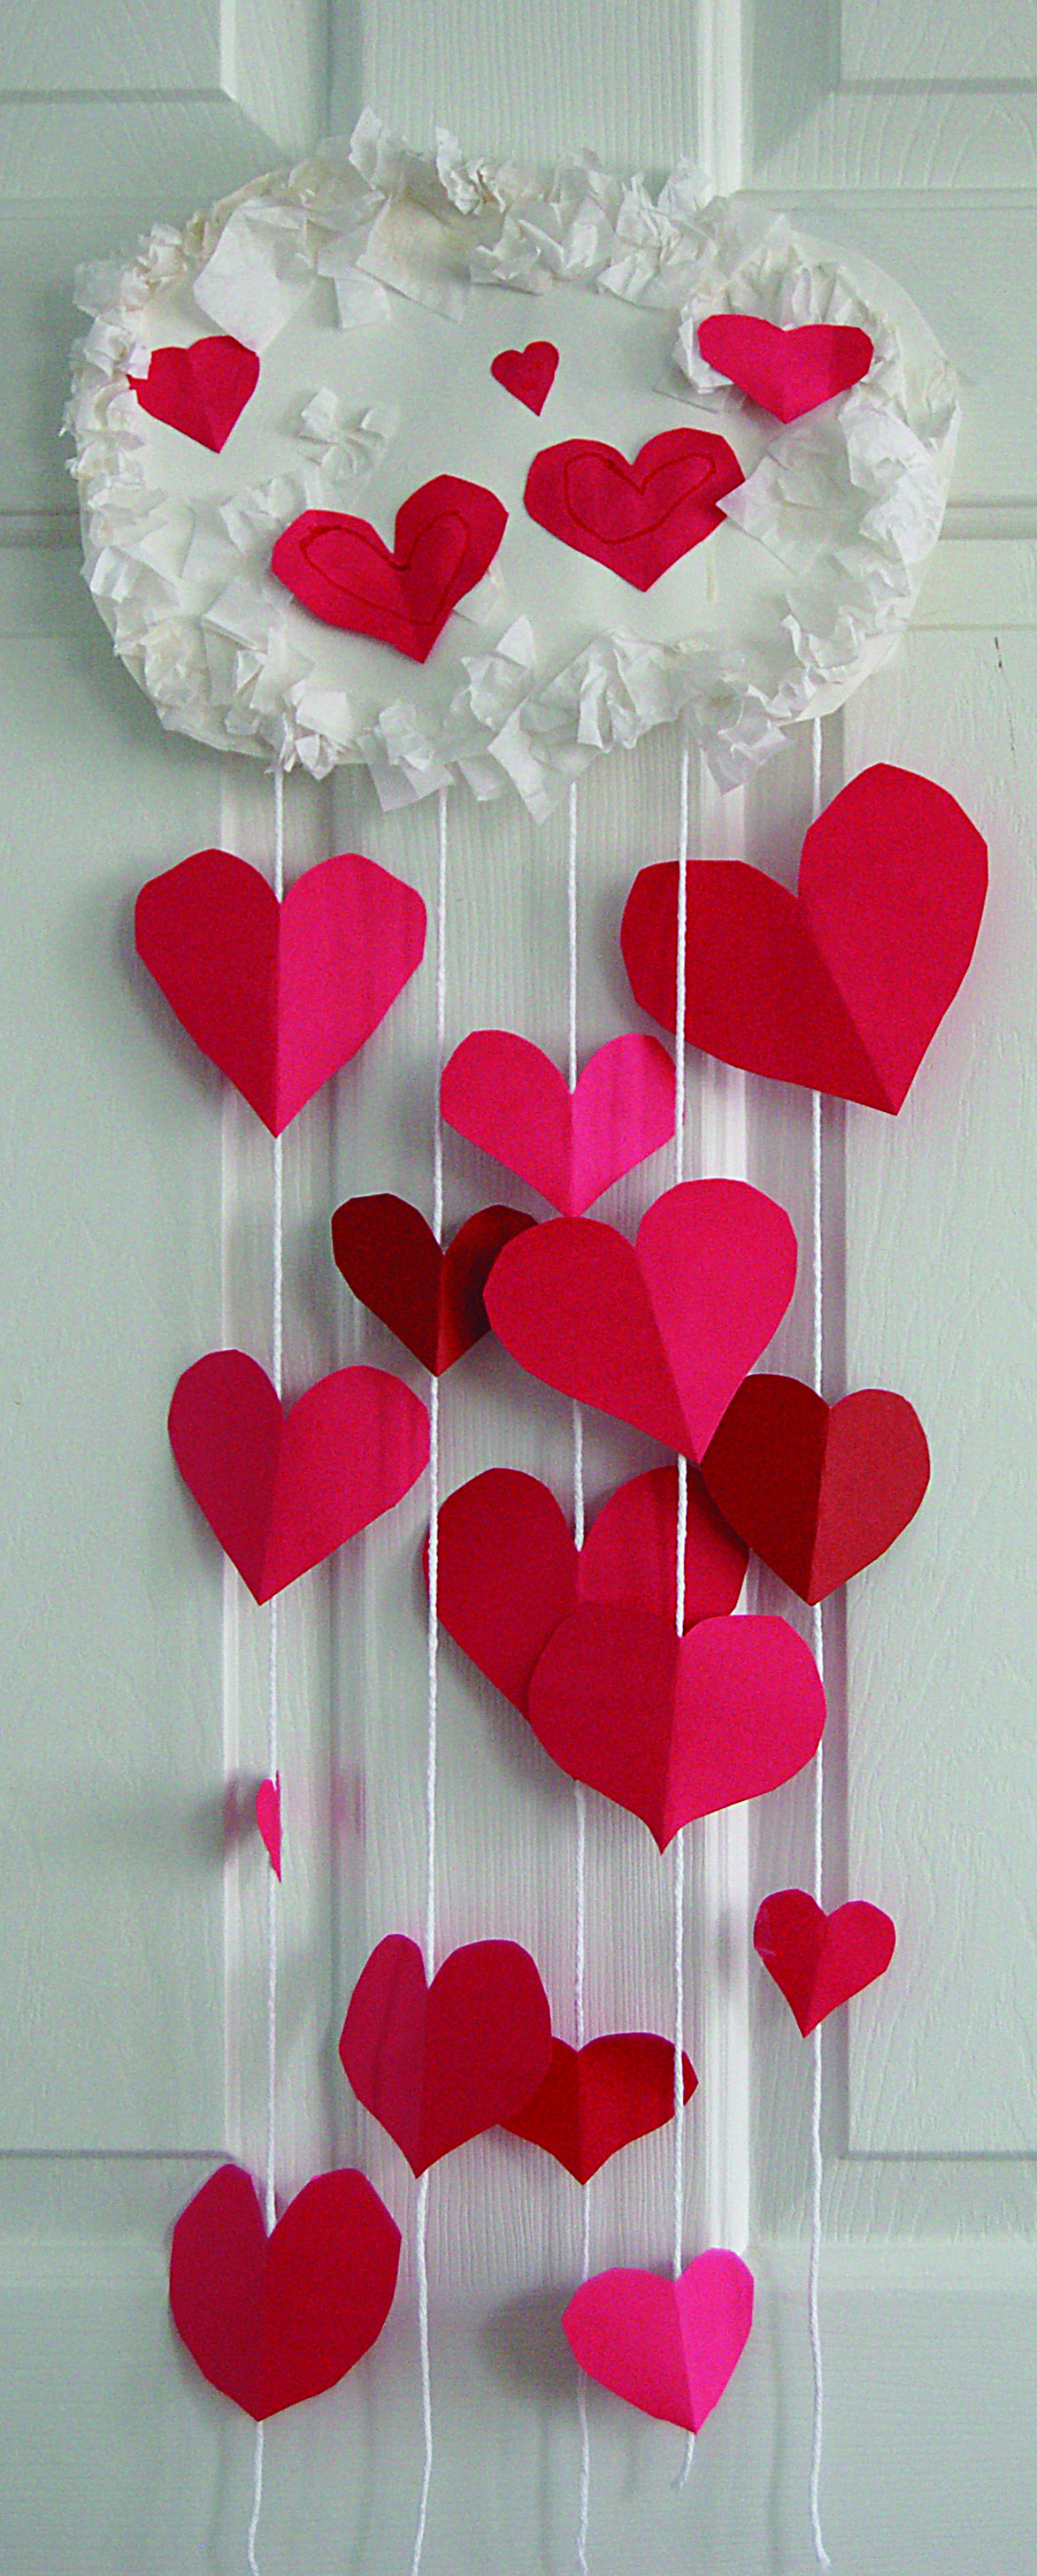
THE DAY IT RAINED HEARTS
You may be familiar with the book The Day It Rained Hearts. Now’s your chance to make it rain hearts. Our artists for this craft were 8 years old. They were able to do most of the craft with a little assistance for the heart cutting.
Supplies:
empty cardboard cereal box (or white card stock)
white tissue paper squares
school glue
red construction paper
string or yarn
scissors
tape
Directions:
1. Start by cutting a cloud shape out of an empty cereal box. Put school glue on one section at a time of the cloud and cover it with crumpled white tissue paper squares. Continue until the entire cloud is “sufficiently” covered in the crumpled tissue paper squares. We used tissue paper squares, folded them over a pencil eraser, and dipped them in the glue. It helped keep the space a little cleaner, but makes it more challenging to cover the entire cloud.
2. Next, tape five strands of string (any type of string or yarn will do) to the back of the cloud. For the next step you will need to leave the cloud face down.
3. While your artist is working on the tissue paper, you can be cutting hearts of varying sizes to be taped to the string. Making the tape pieces too large will leave excess coming from behind the heart. Cut accordingly, or you’ll be trimming the tape later.
4. After you are finished taping hearts to all of the different strings, turn it over to reveal your cloud raining hearts. We opted to load the cloud with a few hearts as well.
A great craft to gift or keep at home.
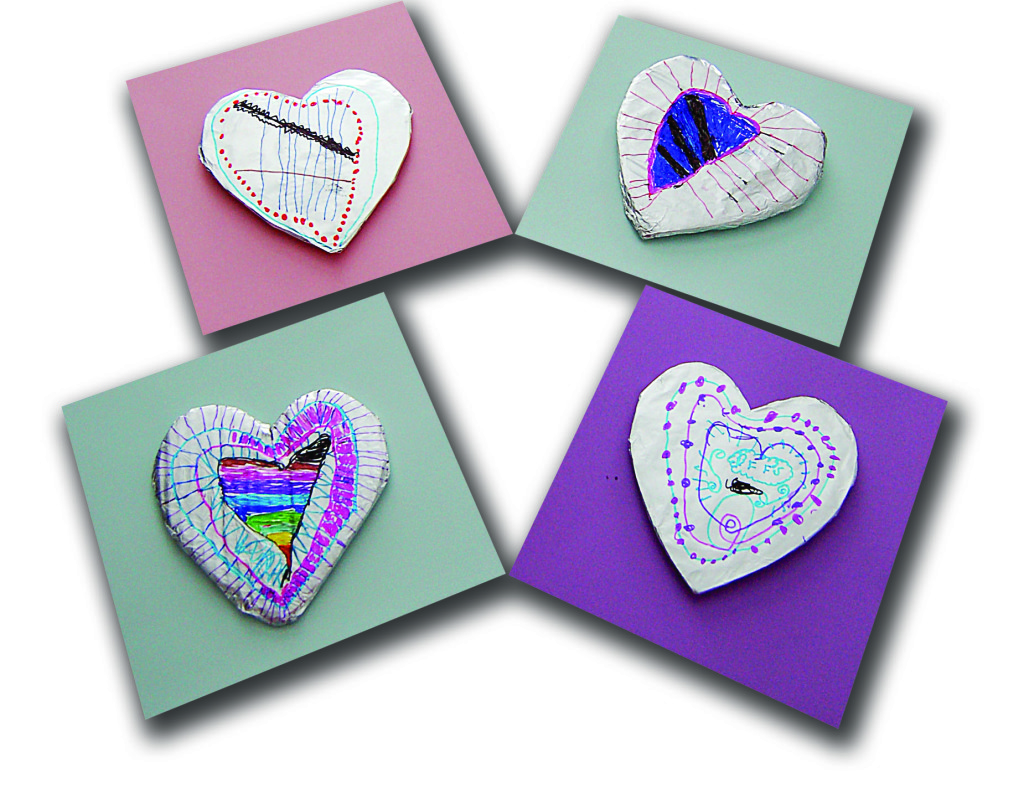
TIN FOIL HEART
Supplies:
cardboard
scissors
aluminum foil
Sharpie colored markers
Directions:
Cut a heart shape out of a piece of cardboard. Any spare box or a cereal box will do.
Cut off a sheet of your aluminum foil a little bigger than the size of your heart. Fold the aluminum foil around your cardboard heart, covering it completely.
Use your Sharpie permanent markers to decorate and finish your tin foil heart Valentine’s Day craft. I love how this is truly a creative process for kids letting them draw and create any design of their choice.
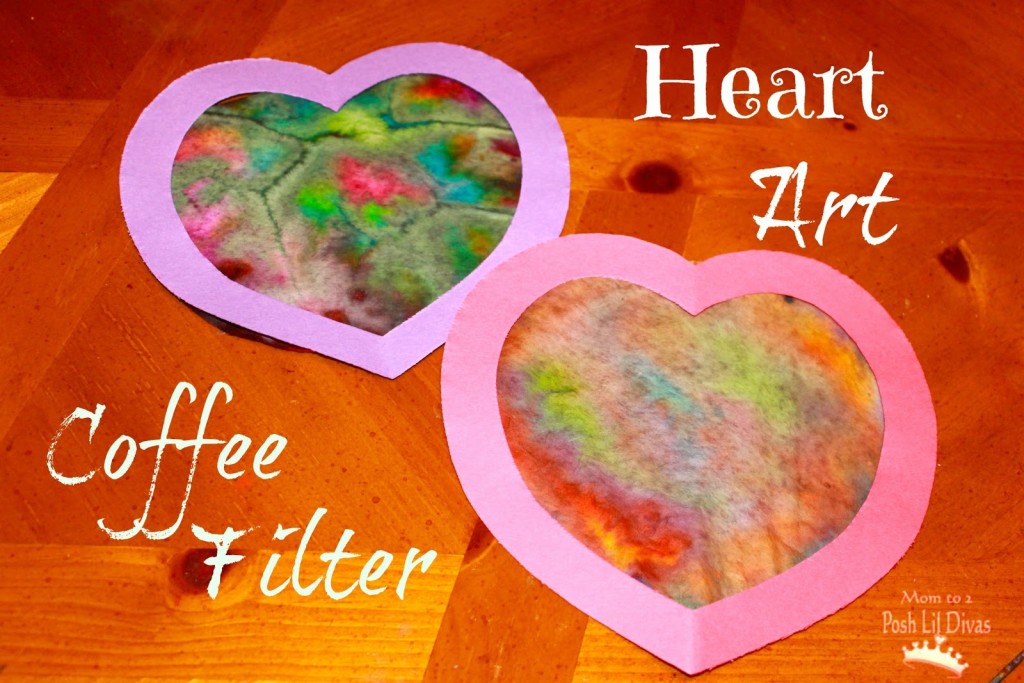
Coffee Filter Heart Art from Posh Lil Divas
Valentine’s Day decorations for windows. This is such an easy craft that children of all ages can enjoy making these hearts.
Supplies
coffee filters
markers
some construction paper
spray bottle
Directions
1. Let child freely color the coffee filter using markers. The brighter the colors and the more of the coffee filter they color – the more vibrant your finished coffee filter will look.
2. Using a spray bottle filled with water, spray the coffee filter. A little water goes a long way. Too much water tends to dilute the colors. Let them enjoy watching the colors spread and mix as the water travels through the coffee filter.
3. Allow the coffee filters to dry.
4. Using construction paper, prepare your heart frames by cutting out a large heart and snipping out the middle.
5. Glue the construction paper to the back of your heart frame. You might want to use 2 heart frames if you are displaying these in your windows so that both sides look the same.
The perfect “card” to mail to anyone!

